National Wine Day with 90+ Cellars and Lila Wines

Did you know that May 25th is National Wine Day? It’s practically Christmas in May if you ask me.

This year, I celebrated National Wine Day a few days early. When my good friend Emily from Shell Chic’d asked if I wanted to team up and throw a Rosé Soiree with 90+ Cellars, there was no way I could turn it down. Emmy and I have been dance friends for years; she’s a super cute and talented fashion blogger in Boston and we knew our dance friends would love a chance to get together, catch up, and celebrate.

image1

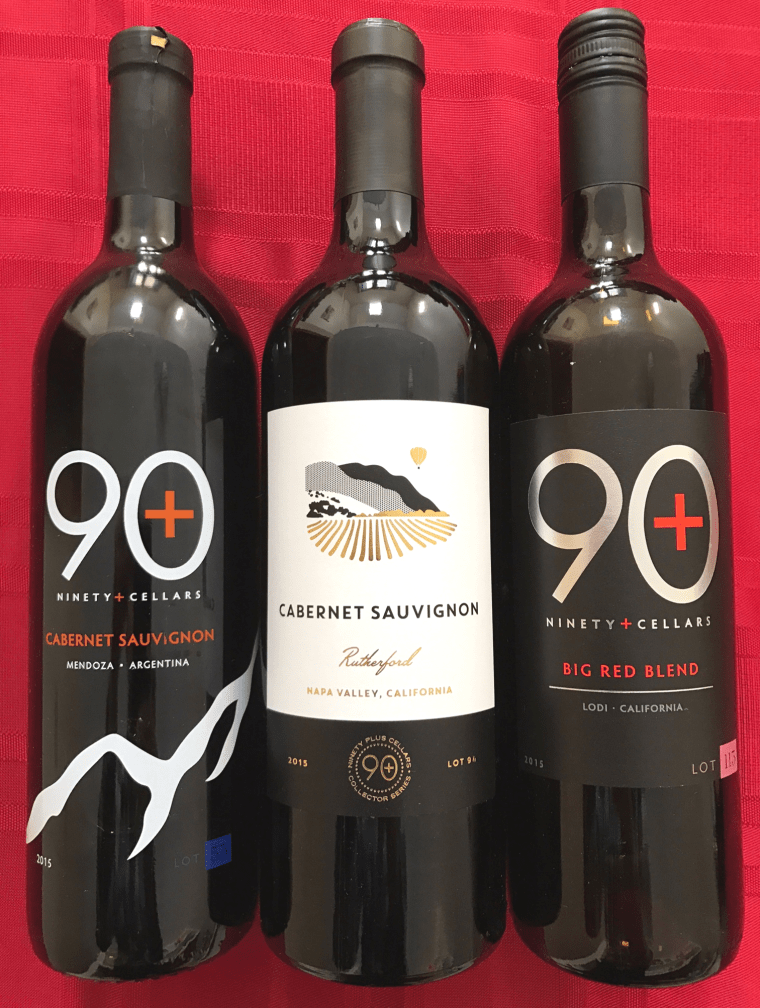
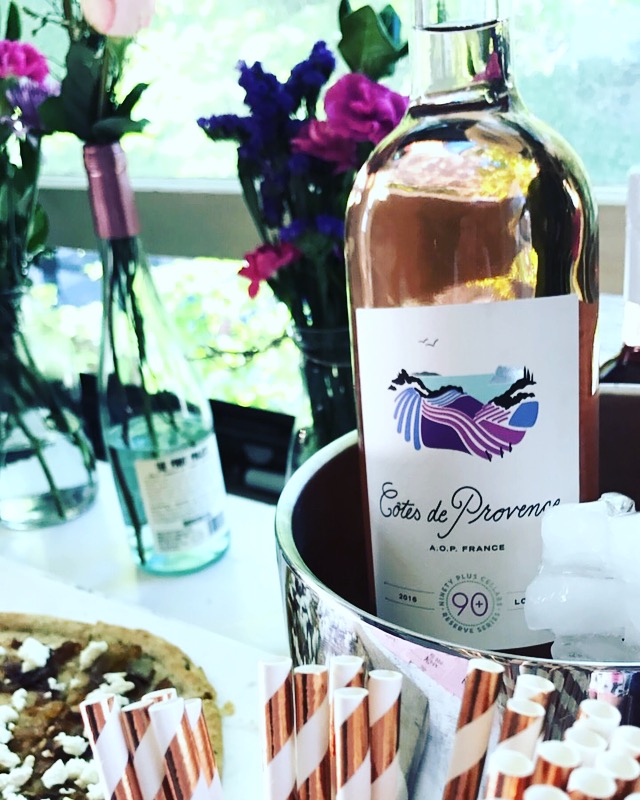
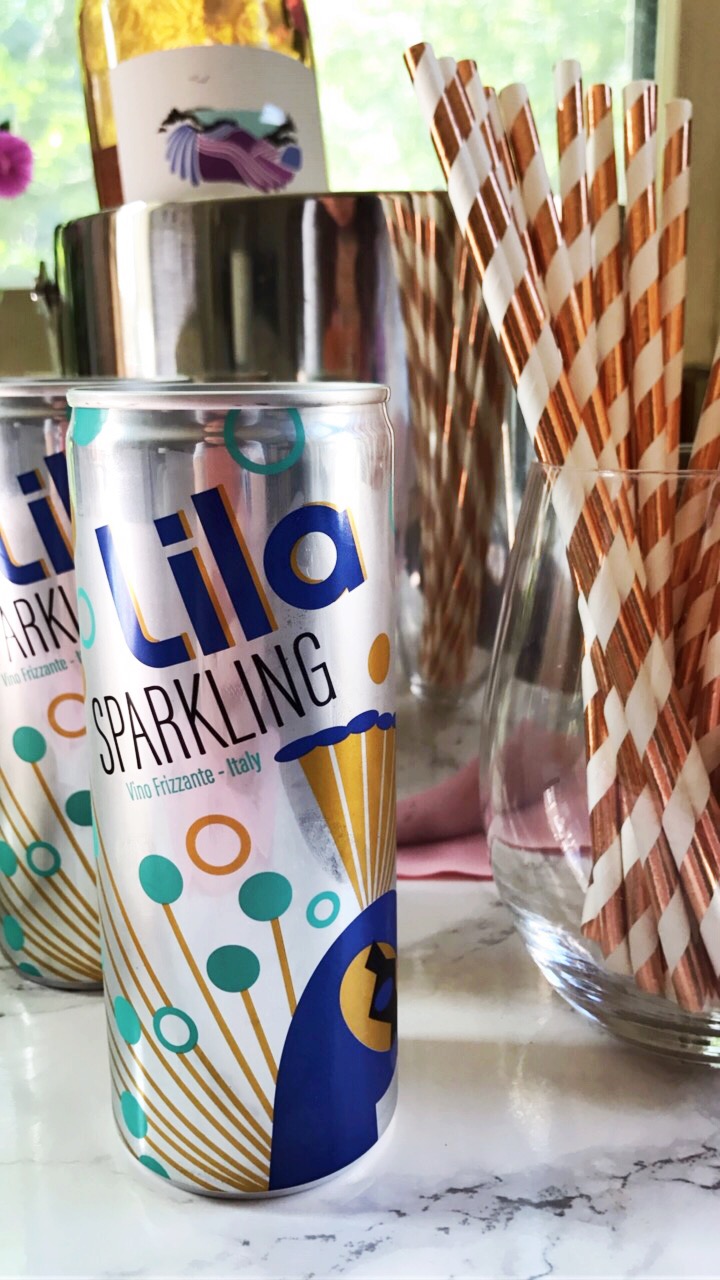
90+ Cellars sent a variety of their Rosé, Cote De Provence, and Sancerre along with Lila Wines which if you’ve never tried these before, go out and buy yourself a 4-pack. Yup, these babies come in cans! I’d actually never had any of the 90+ Cellars Rosé collection and was really excited to try them all. They are excellent summertime wines and for their price points (between $11.99-$20.99) they are also perfect for taking to all of those barbecues and pool parties.

IMG_9439

IMG_9442

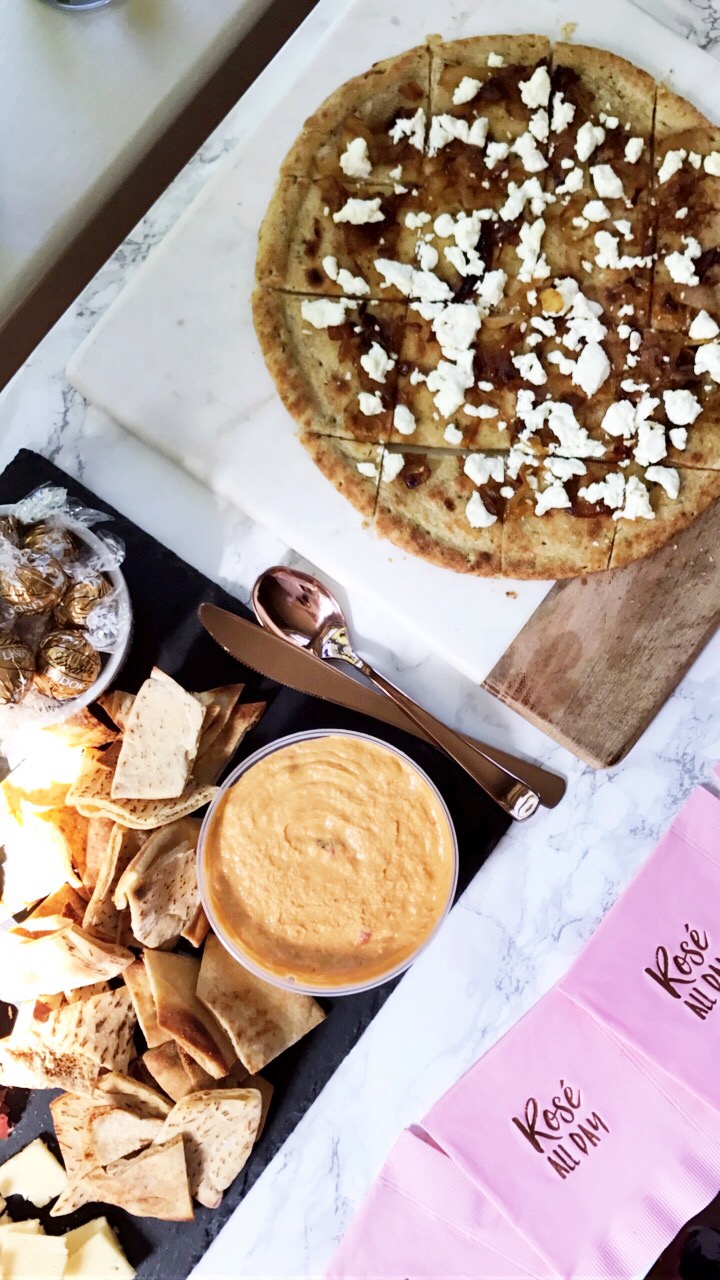
Emily took care of the cocktails while I planned an easy and light party menu. I went with my tried-and-true charcuterie board and a Caramelized Onion and Goat Cheese Flatbread (recipes below!) Our friend Lauren is a really talented baker and came with beautiful cupcakes meticulously hand-piped with frosting to look like hydrangeas (!!) We admired them for the majority of the party because they were almost too pretty too eat! But then we ate them because duh, cupcakes.

IMG_9441

IMG_9440

IMG_9445

IMG_9443
Seriously LP, just open a bakery already…

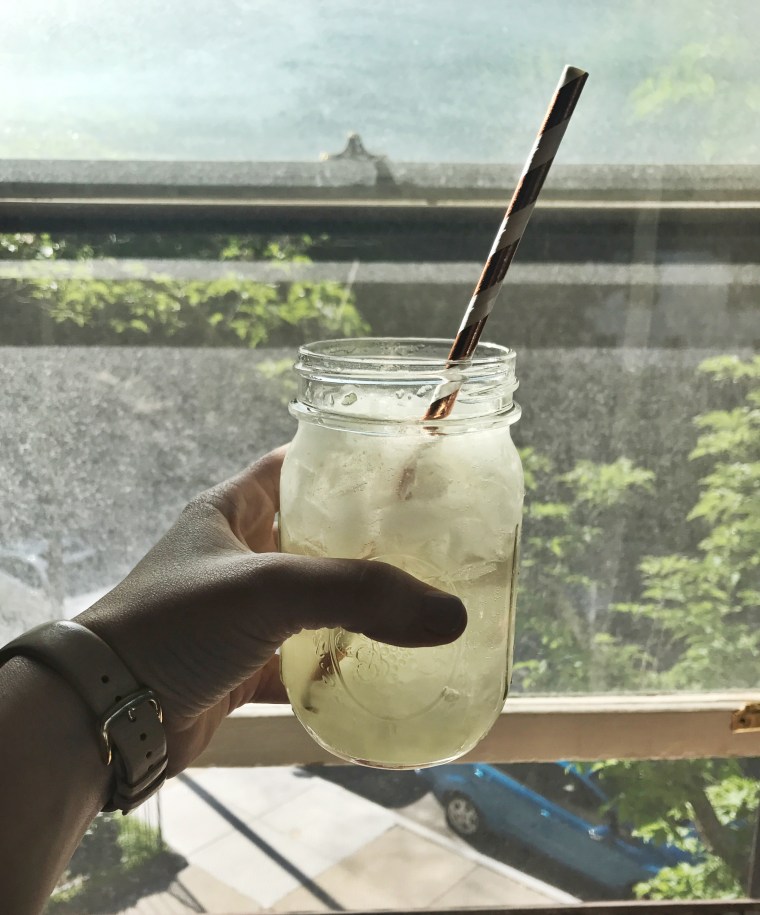
Em also created this refreshing cocktail using the Lila Wines Vino Frizzante Sparking Wine. It’s definitely a contender for “Best Drink of the Summer”. Check out her recipe and party planning tips here.

A big thank you to 90+ Cellars for sponsoring a great party and to Emily for asking me to partner on such a fun get together!

Cheers!

IMG_9446

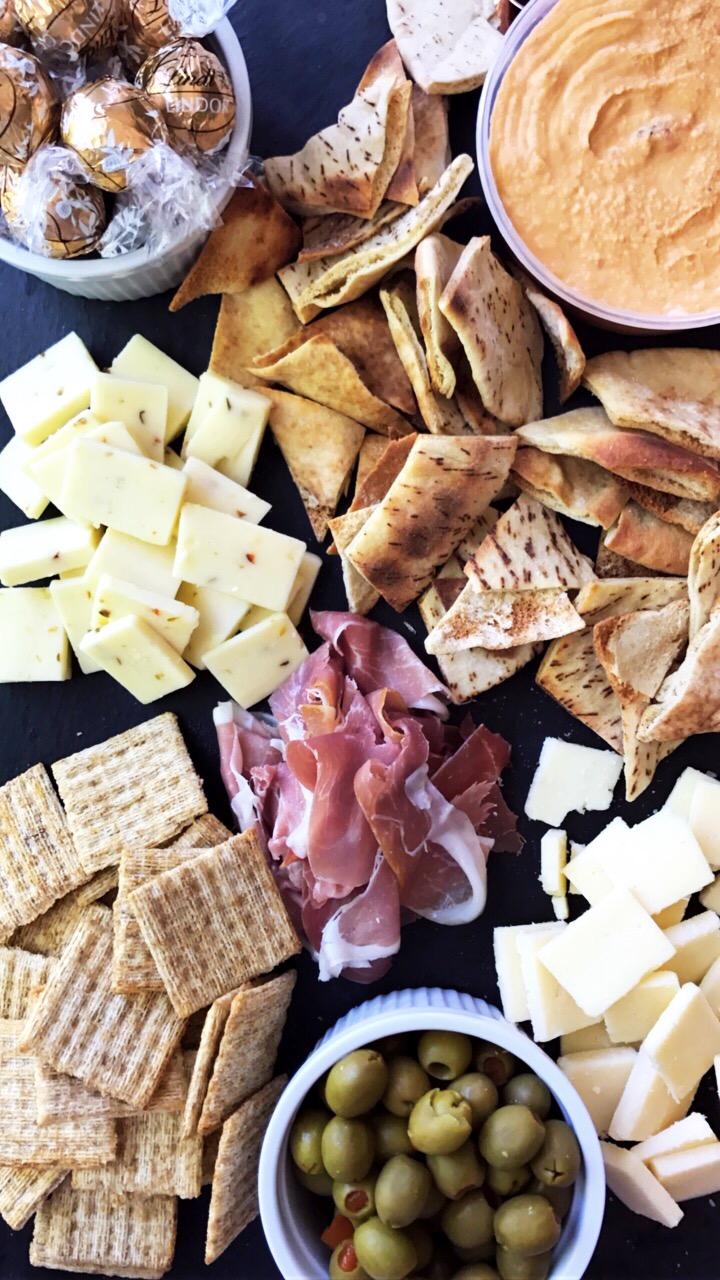
Tried & True Charcuterie Board

My formula for quick and easy: 2 cheeses + 2 carbs + 1 meat + 2-3 extras

Cheese: I chose a sharp cheddar and a pepper jack cheese for contrasting textures and heat levels. (Cabot Cheese is my go-to.)

Carbs: Plain reduced-fat Triscuits are my cracker of choice because they are simple, delicious and don’t interfere with the rest of the platter taste-wise. For the second, I make my own pita chips by cutting 4 pitas (I love Joseph’s) into 16ths and baking them at 400 degrees with a little non-stick spray and salt until they get crispy- that’s it! (These go particularly well with hummus!)

Meat: I almost always go with prosciutto because it’s a familiar antipasto, super salty and extra delicious.

Extras: Spanish Manzanilla olives, roasted red pepper hummus and Lindt LINDOR Fudge Swirl Truffles to keep things interesting.

Caramelized Onion & Goat Cheese Flatbread

  • 2 prepared pizza crusts or flatbreads (I used an Italian herb variety – so delicious)
  • 1-2 tablespoons Extra Virgin Olive Oil
  • 1 large onion, caramelized (see instructions below)
  • 6 ounces Goat Cheese

Brush a thin layer of Extra Virgin Olive Oil on each of the flatbreads. Top evenly with caramelized onions and goat cheese. Bake at 400 degrees for 10-15 minutes until crust is golden and crispy around the edges and cheese has slightly softened. Slice and serve warm.

For the Caramelized Onions:

  • 1 large onion, peeled and thinly sliced
  • 1 tablespoon butter or margarine
  • 1 tablespoon Olive Oil
  • 1 teaspoon salt
  • 1 teaspoon sugar

Heat 1 tablespoon of butter or margarine with 1 tablespoon olive oil in a large skillet over medium heat. Add onion and cook, stirring occasionally for 20-25 minutes or until onions begin to soften. Add 1 teaspoon salt and 1 teaspoon sugar and toss to coat. Continue to cook for 1 hour, stirring often, until the onions are a rich dark brown color. (Do not let them burn!) Store in an airtight container until ready to use.

This post is was created in partnership with 90+ Cellars, but all opinions and images are my own. Thank you for supporting brands who support Chocolate & Wine!

Recipe Testing: Chocolate and Wine

If you’ve found your way to this little corner of the internet, you’re probably a chocolate and wine lover like myself. Separately or together, they are a match made in heaven and (quite obviously) two of my favorite things in the world.

Two weekends ago, I attended the 2017 Boston Wine Expo (highlights & favorites coming ASAP, promise!) We always stop by the 90+ Cellars set-up because they have a huge variety of quality wine at varying price points. They even had a blind taste test which Sean and I totally nailed! They didn’t have my favorite L’Amis Barbaresco on the floor this year and once I saw the color of the wine in my glass my super intuitive deduction skills kicked in. Okay, I’m kidding about the deductive skills, but I did get it right. I got to talking with the company’s marketing manager and soon, we were chatting about partnering up on some chocolate and wine recipes. Who could say no to that?

Surprisingly, I’ve never used red wine when making dessert so I settled on a few simple sweets to test the waters: Red Wine Hot Cocoa and Red Wine Brownies. (I also attempted Red Wine Chocolate Truffles. On account of user error, aka me failing miserably, these were not successful. I ran out of time to try a second round so I will be adding them back to the list for near-future recipes.)

canva-photo-editor_ three bottles.png

Back to the things that were successful. First up … Red Wine Hot Cocoa!

img_8433_crop

I love hot chocolate, especially when it’s super creamy and extra indulgent. I wanted to see how the 90+ Cellars Cabernet Sauvignon (from Argentina, not California) would elevate milk chocolate and dark chocolate so I tried both. By far, the Milk Chocolate Hot Cocoa was the best. Hands down. Zero question. The fruitiness of the Cab gave the cocoa a raspberry and plum-esque flavor that’s delicious on it’s own or, if you’re feeling fancy, would be fantastic paired with a cheese plate.

I didn’t add extra sugar to either cocoa because I really wanted to the chocolate itself to shine through and be the sweetener here, but I think I would add a bit to the dark chocolate cocoa.  It might have been that I used a high cocoa bar (70% dark) which made it a little too intense as a hot drink so lowering that cocoa content could also help.

Red Wine Hot Cocoa (makes 2 servings)

12 oz milk (I used 1%)
6 oz half and half or light cream
4 ounces high quality chocolate, chopped
1/4 cup red wine (I used this 90+ Cellars Cabernet Sauvignon)

Bring a saucepan to medium heat on the stove. Add milk and half & half (or cream) and bring to a simmer but do not let it boil. Add chopped chocolate and stir until completely melted. Add wine and continuing stirring until the mixture is hot, about 3 minutes. Serve in two large mugs.

Next up … “Blend” Brownies.

canva-photo-editor_-big-red-blend

90+ sent their Big Bad Red Blend and it was clear that using a blended wine in the recipe called for something a little unconventional. I decided to use a “blend” of chocolate – about 3/4 bar of each milk and dark chocolate, melted them into butter and then added the rest of the ingredients. The result was a moist, cake-y brownie that had a subtle and luxurious hint of the red wine. The Big Bad Red Blend elevated the two chocolates and made the brownies irresistible. (Seriously, they were gone in 3 days…)

img_8412_cropped

IMG_8259.JPG

Red Wine “Blend” Brownies

1 stick (1/4 lb) unsalted butter, melted
About 5 oz. chocolate (I used roughly 3/4 of a Lindt EXCELLENCE 70% Dark Chocolate Bar and roughly 3/4 of a Lindt CLASSIC RECIPE Milk Chocolate Bar)
2 eggs, room temperature
1 & 1/2 cups brown sugar
1/3 cup flour
1/2 cup cocoa
1/4-1/3 cup red wine (I used 90+ Cellars Big Red Blend)
1 teaspoon vanilla extract
1/2 teaspoon salt

Preheat over to 350 degrees Fahrenheit.

Melt butter and add chocolate. Stir over medium heat until chocolate is completely melted.

In the bowl of a stand mixer, add brown sugar and start the mixer. Gently pour butter/chocolate combination until mixed thoroughly. Add eggs and vanilla and beat until combined. Drop the mixing speed to low and add flour and cocoa. Once they just come together, add wine. Start with 1/4 cup and increase up to 1/3 cup if the batter is too thick.

Pour batter into a greased 9×9 square pan and bake until the brownies are set, about 30-35 minutes.

Store in an airtight container for up to 5 days (although I doubt they would last that long…)

img_8522

Finally, I can’t end this post without mentioning the 90+ Cellars Rutherford Cabernet Sauvignon. This was the wine used in the chocolate truffles attempt and then found itself in my glass once all of the testing was completed. This Cab falls under 90+ Cellar’s “Reserve” section of their website as it is at a slightly higher price point than the other 2 “Core” wines I tested. In my opinion, is worth every extra cent. It’s full-bodied with a smooth finish, complimented by notes of mocha and tobacco giving it a slightly smoky edge. This wine would be perfect to serve at a dinner party or make a beautiful gift for a Cab lover in your life. I would know; I want someone to gift this to me!

Are there any chocolate and wine desserts you’d like to try? Leave a comment and they may get added to Round 2 of recipe testing.

This post is was created in partnership with 90+ Cellars, but all opinions and images are my own. Thank you for supporting brands who support Chocolate & Wine!